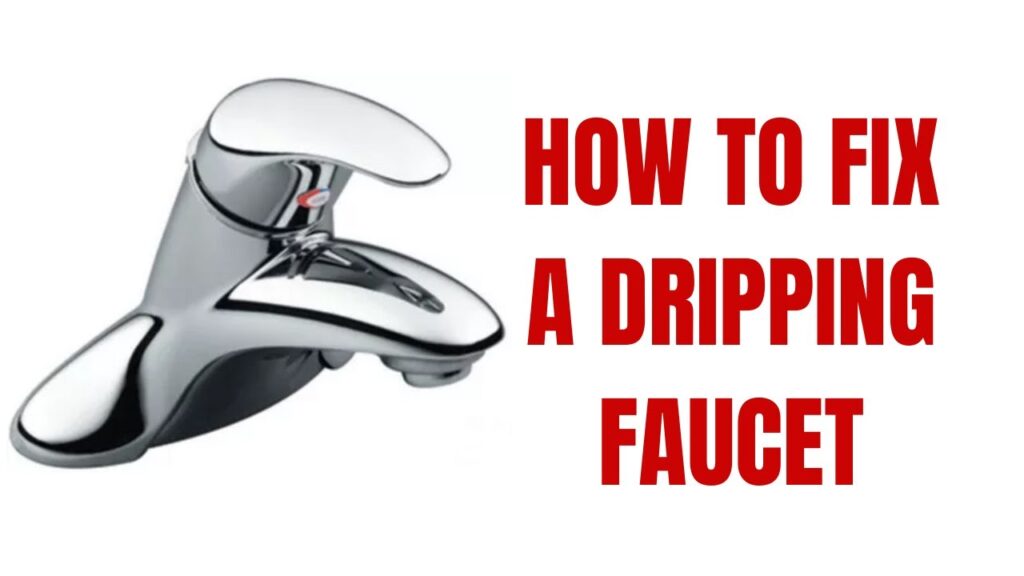
Stop the Drip: Expert Guide to Fixing a Leaking One-Handle Faucet
Is the incessant drip, drip, drip of a leaking one-handle faucet driving you crazy and costing you money? You’re not alone. A leaky faucet is a common household problem, but thankfully, it’s often a repair you can tackle yourself. This comprehensive guide will walk you through the process of diagnosing and fixing a leaking one-handle faucet, saving you the expense of calling a plumber. We’ll cover everything from identifying the type of faucet you have to replacing worn-out parts, ensuring you have the knowledge and confidence to get the job done right. With step-by-step instructions and expert tips, you’ll be able to silence that annoying drip and restore your faucet to its former glory. Let’s dive in and learn how to fix a one handle faucet leaking.
Understanding the Anatomy of a One-Handle Faucet
Before you grab your tools, it’s crucial to understand the different types of one-handle faucets and their internal components. This knowledge will help you accurately diagnose the cause of the leak and select the correct replacement parts. There are primarily two types of one-handle faucets: ball-type and cartridge-type. Recognizing the difference is key to a successful repair.
Ball-Type Faucets
Ball-type faucets are characterized by a single handle that controls both water flow and temperature by rotating around a ball mechanism inside the faucet body. These faucets typically have a more complex design than cartridge-type faucets, with more parts that can potentially wear out. The key components of a ball-type faucet include:
- Handle: Controls water flow and temperature.
- Adjusting Ring: Controls the tension on the ball and affects handle movement.
- Cam Assembly: Works in conjunction with the ball to regulate water flow.
- Ball: A slotted metal or plastic ball that controls the mixing of hot and cold water.
- Seats and Springs: Located beneath the ball, these provide a seal to prevent leaks.
- O-rings: Seals around the faucet body and spout to prevent leaks.
Cartridge-Type Faucets
Cartridge-type faucets are simpler in design, using a cylindrical cartridge to control water flow and temperature. The handle moves up and down to control water volume and side to side for temperature. These faucets are generally easier to repair than ball-type faucets due to their fewer components. The main parts of a cartridge-type faucet are:
- Handle: Controls water flow and temperature.
- Retaining Clip or Nut: Holds the cartridge in place.
- Cartridge: A cylindrical valve that controls the mixing of hot and cold water.
- O-rings: Seals around the cartridge to prevent leaks.
Diagnosing the Cause of a Leaking One-Handle Faucet
Pinpointing the source of the leak is the first step towards a successful repair. Observe the faucet closely to determine where the water is coming from. Common leak locations include:
- Spout: A drip from the spout usually indicates worn-out seats and springs (in ball-type faucets) or a damaged cartridge (in cartridge-type faucets).
- Base of the Handle: Leaks around the base of the handle often point to worn-out O-rings or a loose adjusting ring.
- Under the Sink: Leaks under the sink could be due to loose connections, corroded pipes, or a faulty faucet body.
Once you’ve identified the leak’s location, you can narrow down the potential causes. For example, if the faucet only leaks when the handle is in a certain position, the problem is likely related to the ball or cartridge. If the leak is constant, even when the faucet is turned off, the seats and springs or O-rings are the more likely culprits.
Essential Tools and Materials for Faucet Repair
Before you begin the repair, gather the necessary tools and materials. Having everything on hand will make the process smoother and prevent unnecessary trips to the hardware store. Here’s a list of essential items:
- Adjustable Wrench: For loosening and tightening nuts and bolts.
- Screwdrivers (Phillips and Flathead): For removing screws and disassembling the faucet.
- Pliers: For gripping and manipulating small parts.
- Allen Wrench Set: For removing set screws on the handle.
- Basin Wrench: For reaching nuts in tight spaces under the sink.
- Penetrating Oil: For loosening corroded parts.
- White Vinegar: For cleaning mineral deposits.
- New Replacement Parts: Seats, springs, O-rings, cartridges, or complete repair kits.
- Plumber’s Grease: For lubricating O-rings and other parts.
- Clean Rags or Towels: For wiping up spills and cleaning parts.
- Bucket: To catch any water that may leak during the repair.
Step-by-Step Guide to Repairing a Leaking One-Handle Faucet
Now that you understand the faucet’s anatomy, have diagnosed the leak, and have gathered your tools, it’s time to start the repair. Follow these step-by-step instructions for both ball-type and cartridge-type faucets.
Repairing a Leaking Ball-Type Faucet
- Turn off the Water Supply: Locate the shut-off valves under the sink and turn them clockwise to stop the water flow. If you don’t have individual shut-off valves, you’ll need to turn off the main water supply to your house.
- Plug the Drain: This will prevent small parts from falling down the drain.
- Remove the Handle: Use an Allen wrench to loosen the set screw on the handle and pull the handle off.
- Loosen the Adjusting Ring: Use an adjustable wrench to loosen the adjusting ring. You may need to use penetrating oil if it’s stuck.
- Remove the Cam Assembly: Lift out the cam assembly.
- Remove the Ball: Lift the ball straight up and out of the faucet body.
- Inspect the Seats and Springs: Use a small screwdriver or pliers to remove the seats and springs. Inspect them for wear or damage.
- Replace the Seats and Springs: Install the new seats and springs, making sure they are properly seated.
- Replace the O-rings: Use a small screwdriver or pick to remove the old O-rings from the faucet body and spout. Lubricate the new O-rings with plumber’s grease and install them in their respective grooves.
- Reassemble the Faucet: Reinstall the ball, cam assembly, adjusting ring, and handle. Tighten the adjusting ring until the handle moves smoothly but without excessive play.
- Turn on the Water Supply: Slowly turn the water supply back on and check for leaks.
Repairing a Leaking Cartridge-Type Faucet
- Turn off the Water Supply: As with ball-type faucets, start by turning off the water supply under the sink.
- Plug the Drain: Prevent small parts from falling down the drain.
- Remove the Handle: Depending on the faucet model, you may need to pry off a decorative cap to access the handle screw. Remove the screw and pull off the handle.
- Remove the Retaining Clip or Nut: Use pliers or an adjustable wrench to remove the retaining clip or nut that holds the cartridge in place.
- Remove the Cartridge: Gently pull the cartridge straight up and out of the faucet body. You may need to wiggle it slightly to loosen it.
- Inspect the Cartridge and O-rings: Examine the cartridge for cracks or damage. Check the O-rings for wear or tears.
- Replace the Cartridge and O-rings: If the cartridge is damaged, replace it with a new one. Lubricate the new O-rings with plumber’s grease and install them on the new cartridge.
- Reassemble the Faucet: Reinstall the cartridge, retaining clip or nut, and handle.
- Turn on the Water Supply: Slowly turn the water supply back on and check for leaks.
Preventative Maintenance for a Leak-Free Faucet
Once you’ve repaired your leaking faucet, take steps to prevent future leaks. Regular maintenance can extend the life of your faucet and save you money on water bills.
- Clean the Faucet Regularly: Use a mild soap and water solution to clean the faucet and remove mineral deposits. Avoid using abrasive cleaners, which can damage the finish.
- Lubricate Moving Parts: Apply plumber’s grease to the O-rings and other moving parts periodically to keep them lubricated and prevent wear.
- Replace Worn Parts Promptly: Don’t wait until a leak develops to replace worn seats, springs, or cartridges. Replacing these parts proactively can prevent more serious problems down the road.
- Check for Leaks Regularly: Inspect your faucets periodically for any signs of leaks. Addressing small leaks early can prevent them from becoming major problems.
Choosing the Right Replacement Parts
When replacing parts, it’s crucial to select the correct ones for your faucet model. Using the wrong parts can lead to leaks or damage to the faucet. Here are some tips for choosing the right replacement parts:
- Identify Your Faucet Model: Look for a model number on the faucet body or in the manufacturer’s documentation.
- Purchase Genuine Replacement Parts: Genuine parts are designed specifically for your faucet model and are more likely to provide a proper fit and reliable performance.
- Consider a Repair Kit: Repair kits often include all the necessary parts for a common faucet repair, such as seats, springs, and O-rings.
- Consult a Plumbing Professional: If you’re unsure about which parts to use, consult a plumbing professional for advice.
The Long-Term Value of Fixing Your Leaky Faucet
Repairing a leaking one handle faucet isn’t just about stopping the annoying drip; it’s about saving water, money, and protecting your home from potential water damage. Even a small drip can waste gallons of water over time, leading to higher water bills. According to industry estimates, a faucet that drips once per second can waste over 3,000 gallons of water per year. That’s enough water to fill a small swimming pool!
Beyond the financial savings, fixing a leaky faucet also helps conserve water, a precious resource that is becoming increasingly scarce in many parts of the world. By taking the time to repair your faucet, you’re doing your part to protect the environment. Furthermore, a leaking faucet can cause water damage to your sink, countertop, and cabinets. Over time, this can lead to mold growth and costly repairs. By fixing the leak promptly, you can prevent these problems from occurring.
Is it Time to Call a Plumber?
While many faucet repairs are simple enough for homeowners to handle, there are times when it’s best to call a plumber. Consider hiring a professional if:
- You’re not comfortable working with plumbing.
- You’ve tried to repair the faucet yourself, but it’s still leaking.
- The faucet is severely corroded or damaged.
- You suspect there may be a more serious plumbing problem.
A qualified plumber can quickly diagnose and repair the problem, ensuring that your faucet is working properly and preventing further damage. Based on expert recommendations, attempting DIY repairs on complex or severely damaged faucets can sometimes exacerbate the issue, leading to more costly repairs down the line. It’s always best to err on the side of caution and call a professional if you’re unsure.
Silencing the Drip and Saving Money
Fixing a one handle faucet leaking is a worthwhile investment that can save you money, conserve water, and protect your home. By understanding the anatomy of your faucet, diagnosing the cause of the leak, and following the step-by-step instructions in this guide, you can confidently tackle this common household repair. Remember to choose the right replacement parts, perform regular maintenance, and don’t hesitate to call a plumber if you’re not comfortable doing the work yourself. With a little effort, you can silence that annoying drip and enjoy the benefits of a leak-free faucet for years to come. Share your experiences with fixing a leaky faucet in the comments below, or explore our other guides for more home repair tips.
