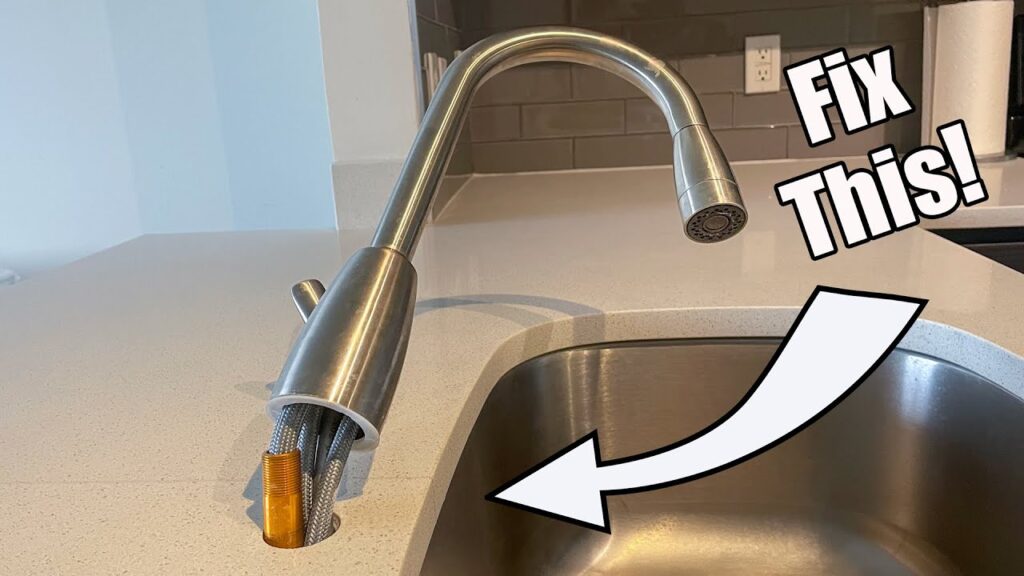
How to Fix a Loose Handle on Your Kitchen Faucet: A Comprehensive Guide
Is your kitchen faucet handle wobbly, spinning freely, or just plain loose? A loose faucet handle isn’t just annoying; it can also lead to drips, wasted water, and potentially costly repairs down the line. Fortunately, fixing a loose handle on your kitchen faucet is often a straightforward DIY project that can save you money and prevent further damage. This comprehensive guide will walk you through the process step-by-step, providing expert tips and insights to ensure a successful repair. We’ll cover everything from identifying the cause of the looseness to tightening the handle securely, regardless of your faucet’s design. Let’s get started and restore your faucet to its former glory!
Understanding Why Your Kitchen Faucet Handle Is Loose
Before diving into the repair process, it’s helpful to understand the common reasons why a kitchen faucet handle becomes loose. Identifying the root cause will help you choose the right solution and prevent the problem from recurring.
- Worn-Out Screws: The most frequent culprit is a simple loose or stripped screw that secures the handle to the valve stem. Over time, the vibrations from regular use can cause these screws to loosen.
- Corrosion: Mineral buildup and corrosion can affect the screw or the handle itself, preventing proper tightening.
- Damaged Valve Stem: In some cases, the valve stem (the part the handle attaches to) can become damaged or worn, preventing a secure connection.
- Loose Set Screw: Faucets with lever-style handles often use a small set screw to hold the handle in place. This screw can loosen over time, causing the handle to wobble.
- Internal Component Failure: Less commonly, internal parts within the faucet cartridge or valve assembly could be failing, indirectly causing the handle to loosen.
Tools and Materials You’ll Need
Gathering the necessary tools and materials before you begin will streamline the repair process. Here’s a list of essentials:
- Screwdrivers: A set of screwdrivers, including Phillips head and flathead, in various sizes.
- Allen Wrenches (Hex Keys): Often needed for set screws on lever-style handles. A set is recommended.
- Adjustable Wrench: For tightening nuts and fittings, if needed.
- Penetrating Oil: To loosen corroded screws or parts.
- White Vinegar: For soaking and removing mineral buildup.
- Clean Cloths or Rags: For wiping up spills and cleaning parts.
- Plumber’s Grease: To lubricate parts during reassembly.
- Replacement Screws: Having a few assorted screws on hand can be helpful if you find a stripped or damaged screw.
- Basin Wrench (Optional): Helpful for accessing tight spaces under the sink.
Step-by-Step Guide to Fixing a Loose Kitchen Faucet Handle
Follow these steps to diagnose and fix a loose handle on your kitchen faucet. Remember to work carefully and consult a professional plumber if you’re uncomfortable with any of these steps.
Step 1: Shut Off the Water Supply
Before you begin any plumbing work, it’s crucial to shut off the water supply to the faucet. Locate the shut-off valves under the sink (one for hot water and one for cold water). Turn both valves clockwise until they are completely closed. If you don’t have shut-off valves under the sink, you’ll need to shut off the main water supply to your house.
Step 2: Identify the Faucet Type and Handle Attachment Method
Different faucet types have different handle attachment mechanisms. Common types include:
- Two-Handle Faucets: These faucets have separate handles for hot and cold water. The handles are typically attached with screws hidden under decorative caps or buttons.
- Single-Handle Faucets: These faucets have one handle that controls both temperature and water flow. The handle may be attached with a set screw, a screw under a cap, or a more complex mechanism.
- Ball-Type Faucets: A type of single-handle faucet, often with a curved spout, where the handle connects to a ball valve inside the faucet body.
- Pull-Down or Pull-Out Faucets: These faucets have a sprayer head that pulls out from the spout. The handle attachment is similar to other single-handle faucets.
Examine your faucet carefully to determine how the handle is attached. Look for screws, caps, or set screws.
Step 3: Remove the Handle
Once you’ve identified the attachment method, carefully remove the handle. Here’s how to remove the handle for different faucet types:
- For handles with decorative caps or buttons: Use a small flathead screwdriver or a knife to gently pry off the cap or button. Underneath, you’ll find a screw. Unscrew it and lift off the handle.
- For handles with set screws: Locate the set screw (usually on the side or back of the handle). Use the appropriate size Allen wrench to loosen the set screw. Once loose, you should be able to pull the handle off.
- For handles with no visible screws: These handles may be held in place by a friction fit or a more complex mechanism. Consult your faucet’s documentation or search online for specific instructions for your model.
Step 4: Inspect the Components
With the handle removed, inspect the following components for damage or wear:
- The Screw: Check for stripped threads, corrosion, or breakage. If the screw is damaged, replace it with a new one of the same size and type.
- The Valve Stem: Look for cracks, wear, or corrosion. If the valve stem is damaged, you may need to replace the entire faucet cartridge or valve assembly.
- The Handle: Check for cracks or damage that could prevent it from tightening properly.
- The Set Screw (if applicable): Ensure the set screw is in good condition and that the threads are not stripped.
Step 5: Clean and Lubricate the Parts
Clean all the parts with a clean cloth to remove any dirt, debris, or mineral buildup. If you encounter stubborn mineral deposits, soak the parts in white vinegar for a few hours or overnight. After cleaning, apply a small amount of plumber’s grease to the valve stem and the inside of the handle. This will help ensure smooth operation and prevent future corrosion.
Step 6: Tighten or Replace the Screw
If the screw is simply loose, try tightening it. Be careful not to overtighten, as this could strip the threads. If the screw is stripped, replace it with a new one of the same size and type. You can find replacement screws at most hardware stores.
Step 7: Reassemble the Handle
Reassemble the handle in the reverse order of disassembly. Make sure the handle is properly aligned with the valve stem before tightening the screw or set screw.
Step 8: Test the Faucet
Turn the water supply back on slowly and check for leaks around the handle and the base of the faucet. If you see any leaks, tighten the connections further or consult a plumber.
Troubleshooting Common Issues
Even with careful attention to detail, you may encounter some challenges during the repair process. Here are some common issues and how to address them:
- Stripped Screw Threads: If the screw threads are stripped in the handle itself, you may be able to repair them using a thread repair kit. Alternatively, you may need to replace the entire handle.
- Corroded Parts: Severely corroded parts may be difficult to remove. Use penetrating oil to loosen the parts and allow it to soak for several hours before attempting to remove them.
- Incompatible Replacement Parts: When replacing screws or other parts, make sure they are compatible with your faucet model. Consult your faucet’s documentation or contact the manufacturer for assistance.
Preventing Future Problems
To prevent your kitchen faucet handle from loosening again, consider these tips:
- Regularly Check the Screws: Periodically check the handle screws and tighten them if necessary.
- Clean the Faucet Regularly: Clean the faucet regularly to remove mineral buildup and prevent corrosion.
- Avoid Overtightening: Overtightening screws or other parts can damage them and lead to future problems.
- Use Plumber’s Grease: Apply plumber’s grease to the valve stem and other moving parts to lubricate them and prevent corrosion.
Advanced Solutions and When to Call a Professional
While many loose faucet handle issues can be resolved with the steps outlined above, some situations require more advanced solutions or the expertise of a professional plumber. Here are some examples:
- Damaged Valve Stem: If the valve stem is severely damaged, replacing it can be a complex task that requires specialized tools and knowledge.
- Internal Component Failure: If the looseness is caused by a failure of internal components within the faucet cartridge or valve assembly, you may need to replace the entire cartridge or valve assembly.
- Persistent Leaks: If you continue to experience leaks after tightening the handle and connections, there may be underlying issues that require professional attention.
- You’re Uncomfortable with Plumbing Repairs: If you’re not comfortable with plumbing repairs, it’s always best to call a professional plumber to avoid causing further damage or injury.
The Importance of a Properly Functioning Kitchen Faucet
A properly functioning kitchen faucet is essential for everyday tasks, from washing dishes to preparing food. A loose handle can not only be annoying but can also lead to water wastage and potential damage to your plumbing system. By taking the time to fix a loose handle, you can ensure that your kitchen faucet operates smoothly and efficiently for years to come. Our team has seen firsthand the impact of neglecting even seemingly small plumbing issues, and prompt attention to problems like a loose faucet handle can save significant money and hassle in the long run.
Choosing the Right Replacement Parts for Your Faucet
When it comes to replacement parts, quality matters. Opting for generic or low-quality components can lead to premature failure and more frequent repairs. Instead, consider purchasing replacement parts from reputable brands or directly from the faucet manufacturer. This ensures compatibility, durability, and optimal performance. Before purchasing any replacement parts, be sure to note the make and model of your faucet to ensure you get the correct components. Many manufacturers offer detailed diagrams and parts lists online, making it easier to identify and order the right parts.
Understanding Faucet Cartridges and Valve Assemblies
The faucet cartridge and valve assembly are the heart of your kitchen faucet, controlling water flow and temperature. Understanding how these components work can help you diagnose and repair a wider range of faucet issues, including loose handles. A faucet cartridge is a self-contained unit that typically houses the valve and other internal components. Valve assemblies, on the other hand, may consist of multiple separate parts, such as O-rings, washers, and stems. When troubleshooting a loose handle, it’s essential to inspect these components for wear, damage, or mineral buildup. Replacing a worn or damaged cartridge or valve assembly can often resolve not only the loose handle issue but also other problems such as leaks and reduced water flow.
Leveraging Expert Advice for Faucet Maintenance
Maintaining your kitchen faucet properly can extend its lifespan and prevent common issues like loose handles. Experts recommend regular cleaning to remove mineral buildup and prevent corrosion. Use a mild detergent and a soft cloth to clean the faucet surfaces, and avoid abrasive cleaners that can damage the finish. Periodically check the handle screws and tighten them as needed. Applying a small amount of plumber’s grease to the valve stem and other moving parts can also help keep your faucet operating smoothly. Furthermore, be mindful of the water pressure in your home. Excessively high water pressure can put stress on your faucet components and contribute to premature wear. Consider installing a pressure regulator to maintain a consistent and safe water pressure level.
Is Your Kitchen Faucet Handle Still Loose?
Fixing a loose kitchen faucet handle is usually a simple process, but it’s important to take your time, follow the steps carefully, and use the right tools. By understanding the common causes of loose handles, gathering the necessary materials, and following the troubleshooting tips in this guide, you can often resolve the issue yourself and avoid the expense of calling a plumber. Remember to prioritize safety by shutting off the water supply before starting any repairs. If you encounter any challenges or are uncomfortable with any of the steps, don’t hesitate to consult a professional plumber. A well-maintained kitchen faucet not only enhances the functionality of your kitchen but also contributes to water conservation and reduces the risk of costly plumbing repairs. So, keep your faucet in good working order and enjoy the convenience of a smoothly operating kitchen.
